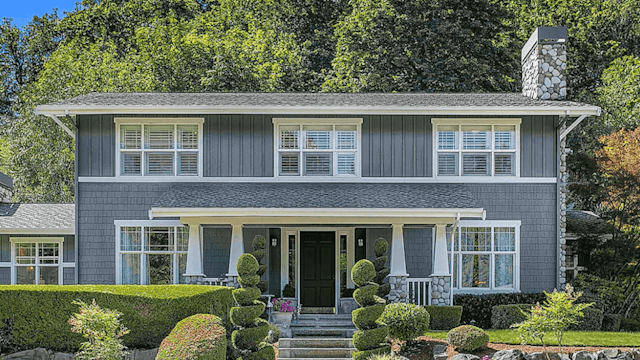
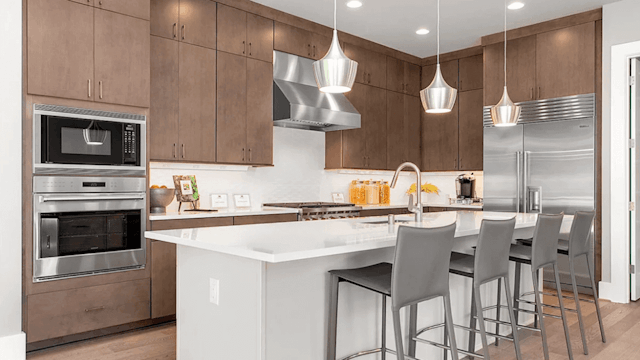
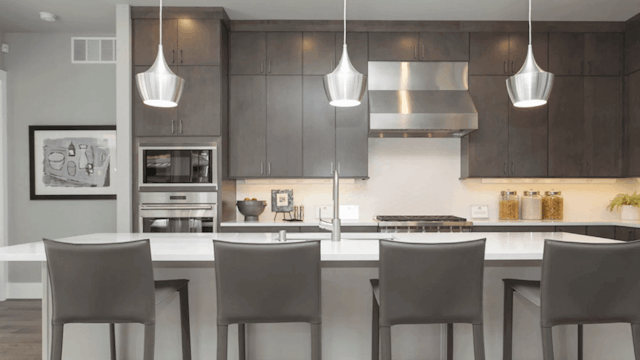
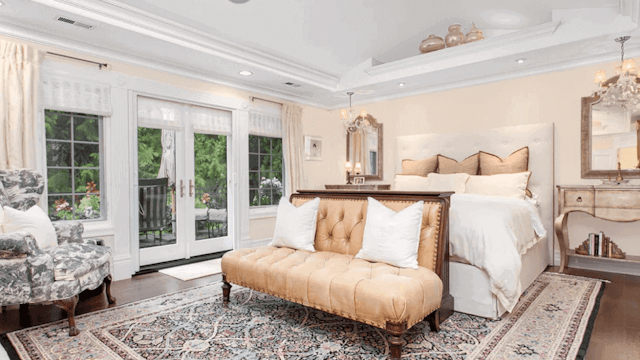
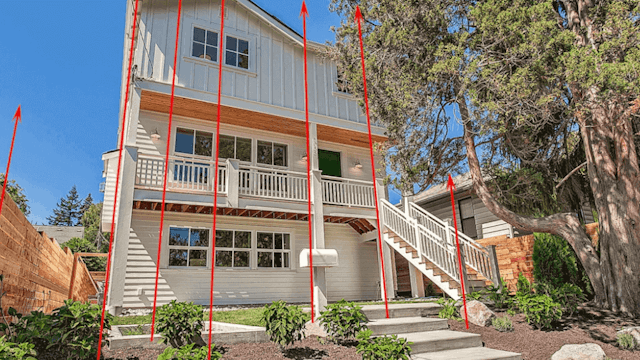
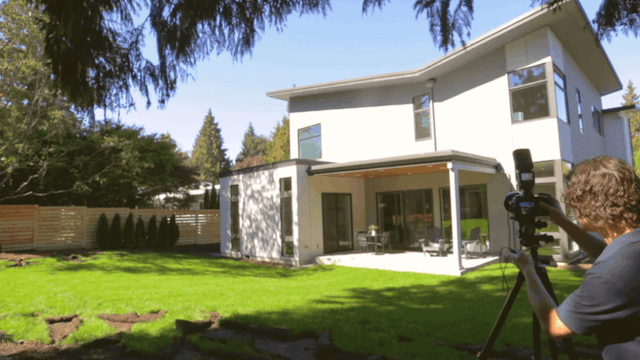
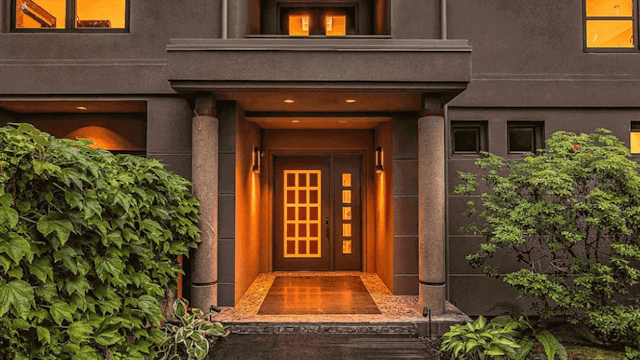
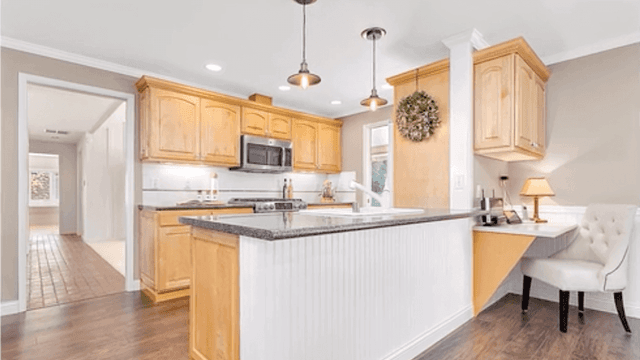
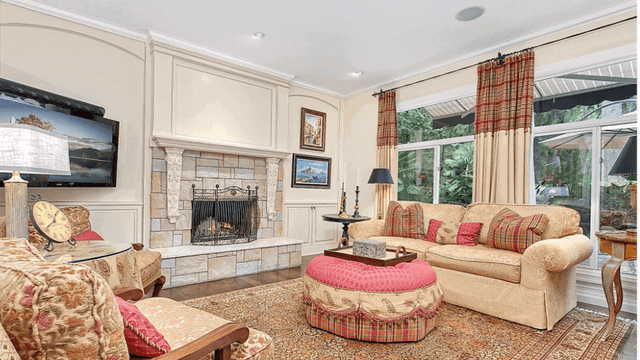
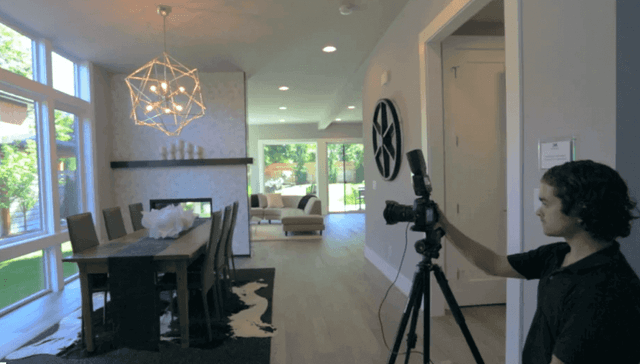
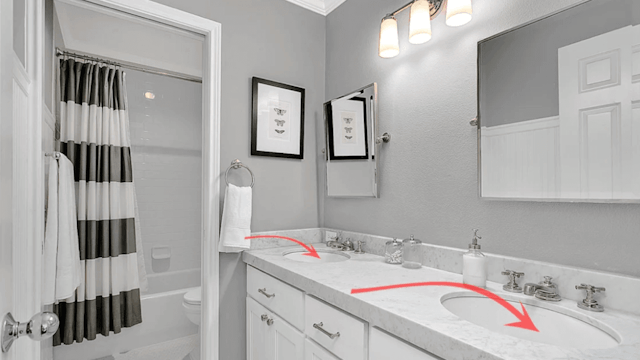
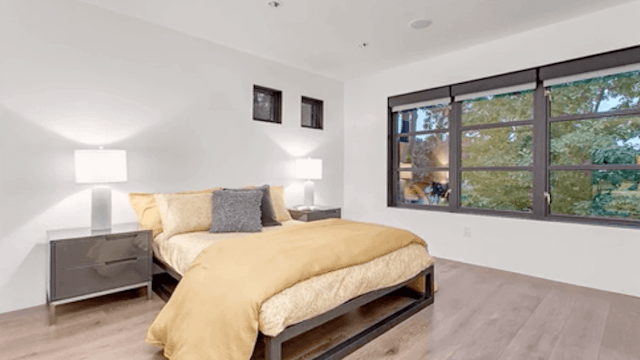
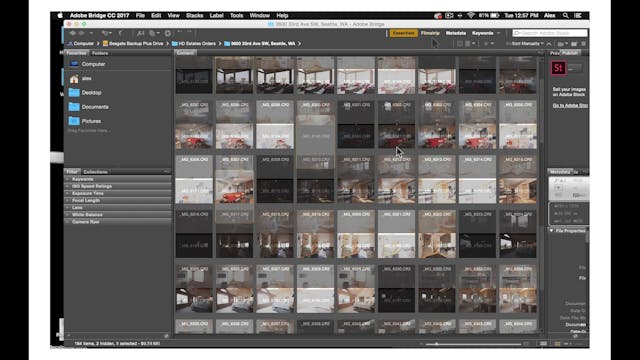
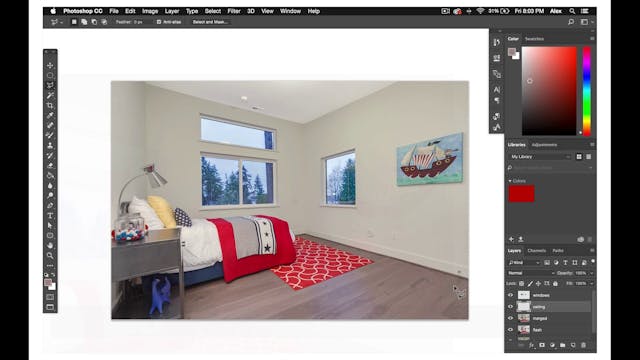
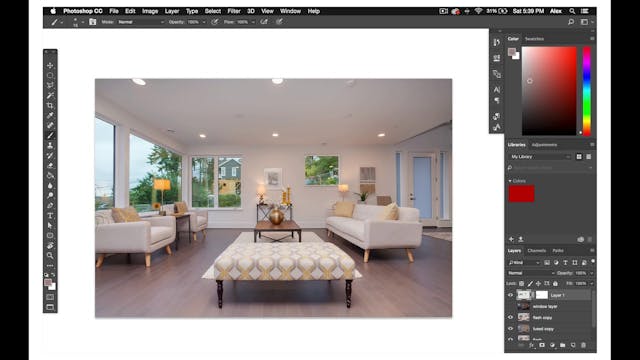
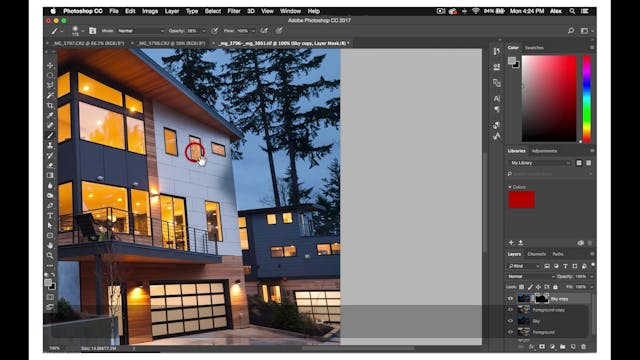
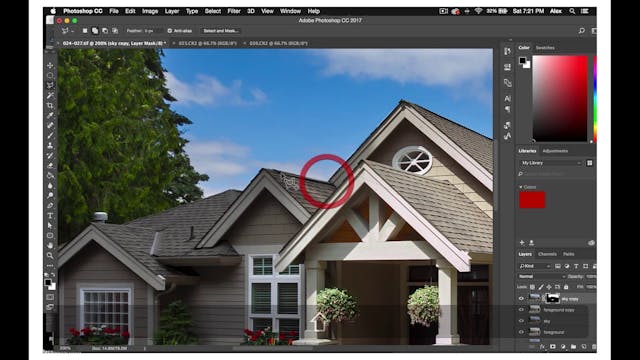
The standard real estate photo editing process is almost the same as the HD natural real estate photo editor process except you don't composite any of the windows and you don't use the real estate flash photo even if the photographer took some. Let's go through it again just in case, you’ll start by importing your fuse photo into Photoshop then duplicate before doing any real estate edits.
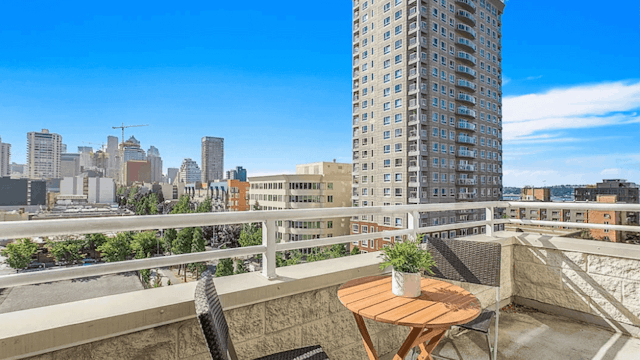
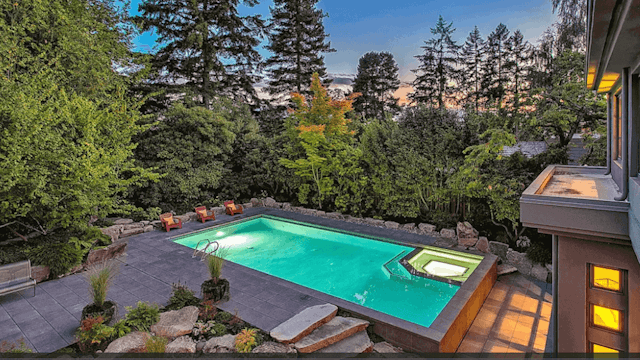
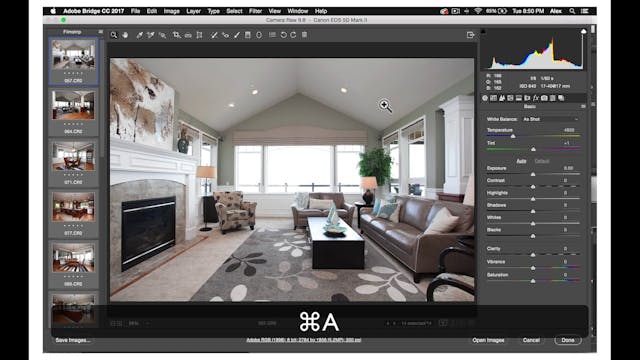
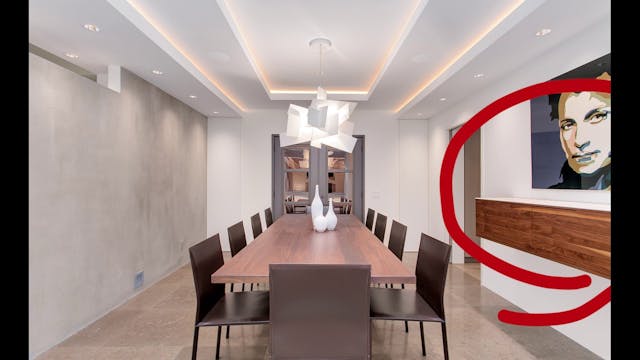
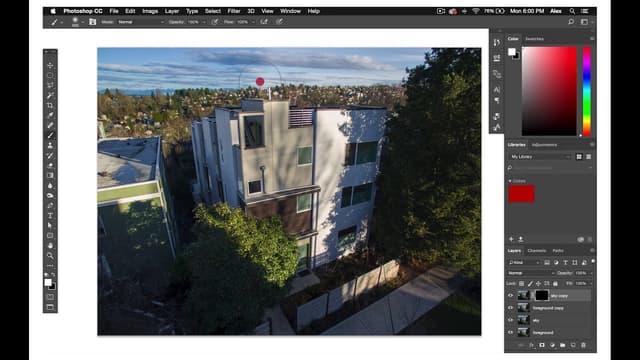
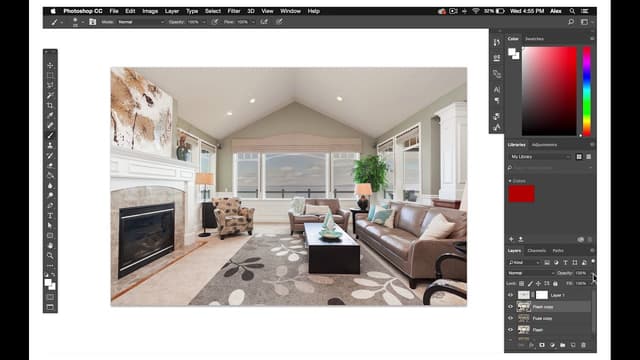
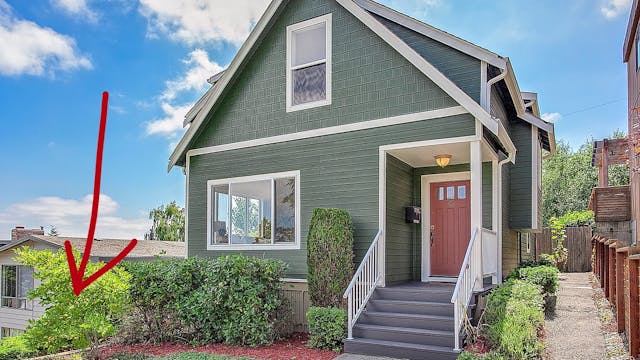
Open your merge layer in Viveza and do cosmetic edits, increasing the brightness on walls, making woods richer, saturated, and contrasted, and bringing in some of the window fuses if possible. Once you're done in Viveza, you will finish the process by double-checking the White Balance and Temperature the photo, as well as the Vertical and Horizontal lines in-camera Raw. And, once again check your histogram in levels and correct values if necessary. After making these final changes you have a complete standard photograph here are some examples of well-edited Standard photos.
If you are looking for real estate photo retouching. You are in the right place! Phixer can help you with editing your real estate photos. Just contact us to know more!
