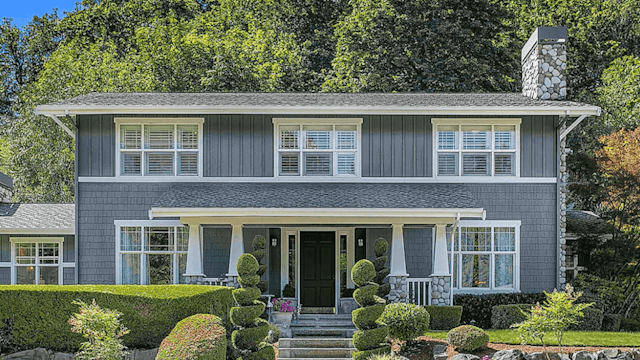
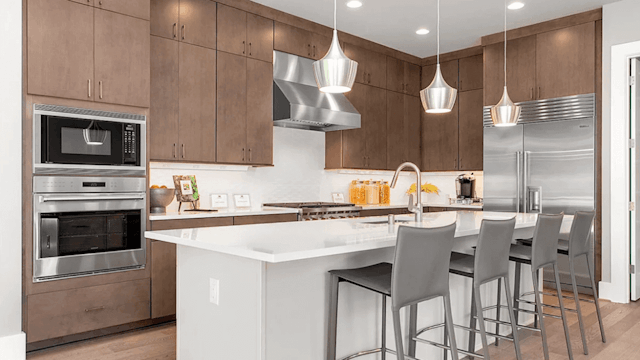
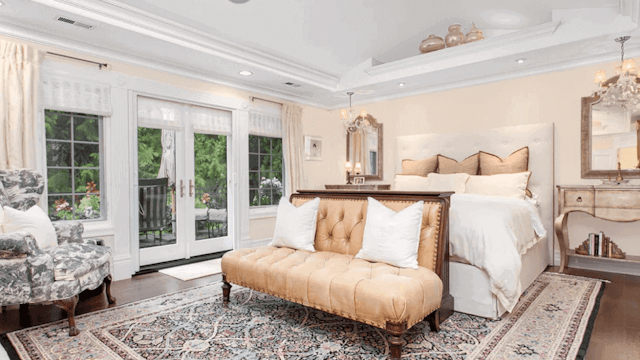
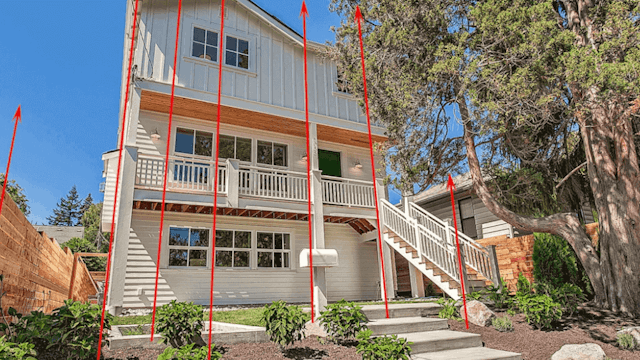
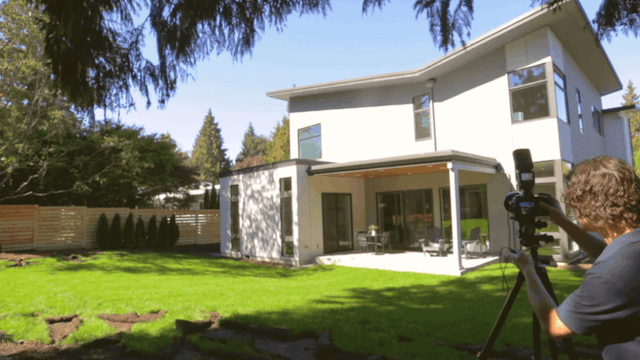
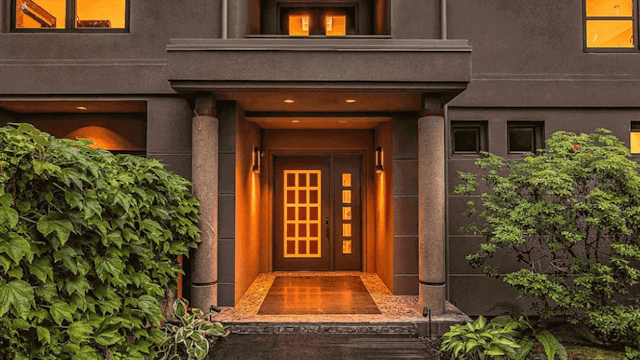
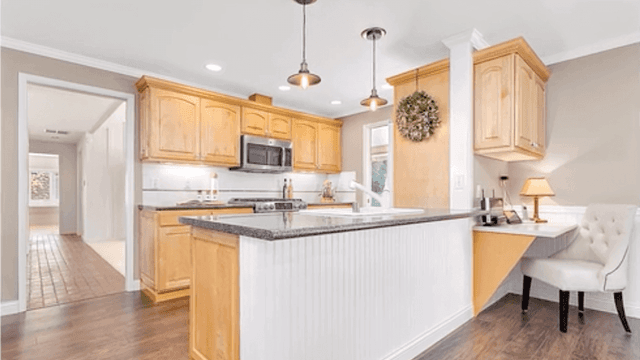
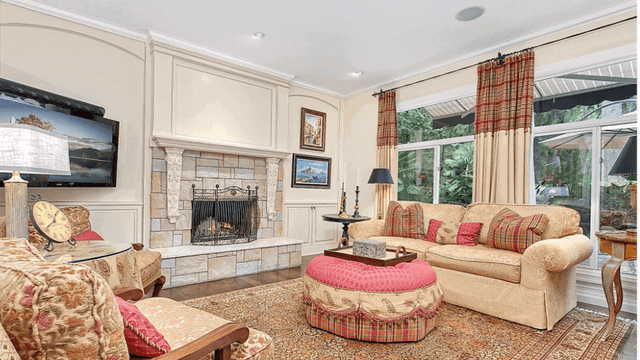
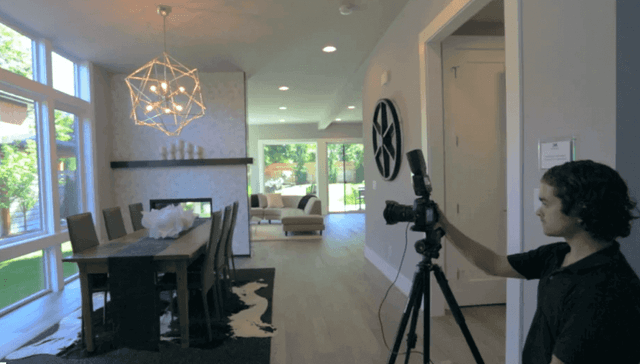
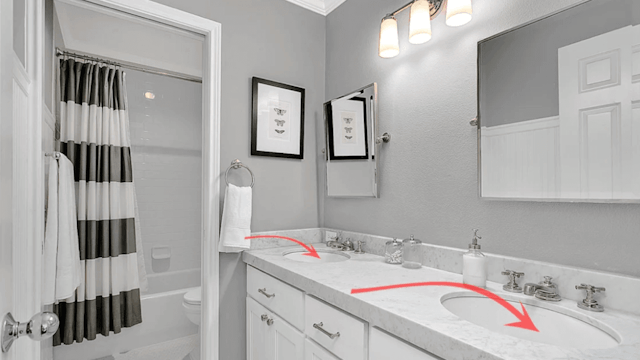
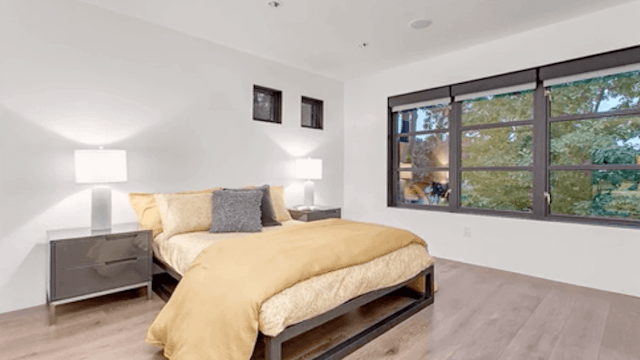
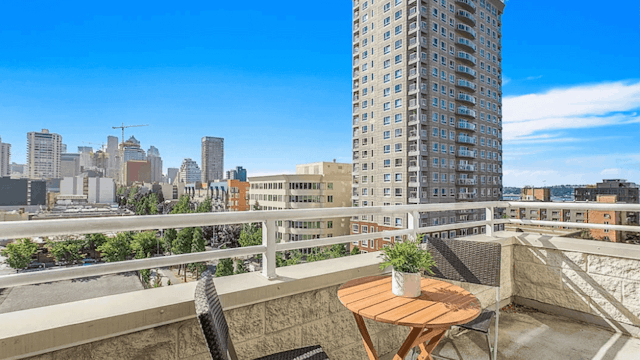
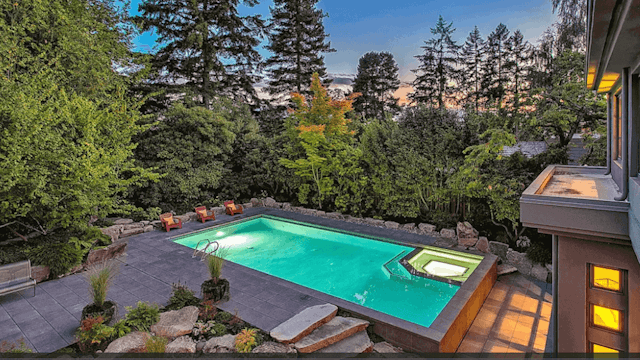
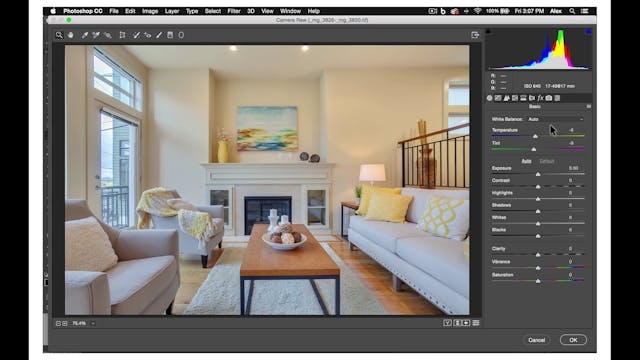
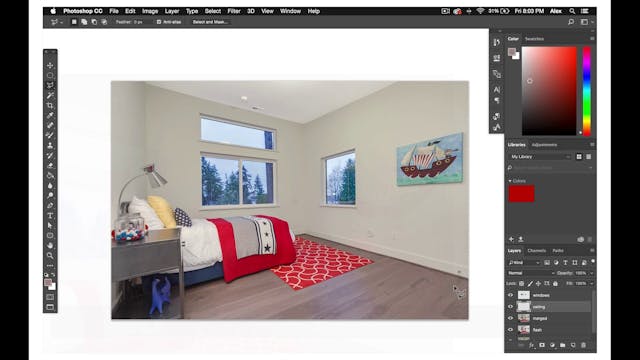
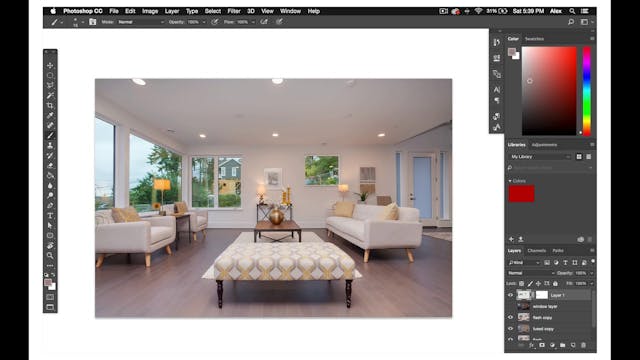
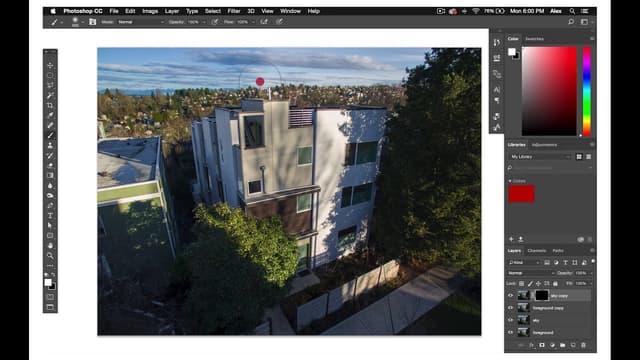
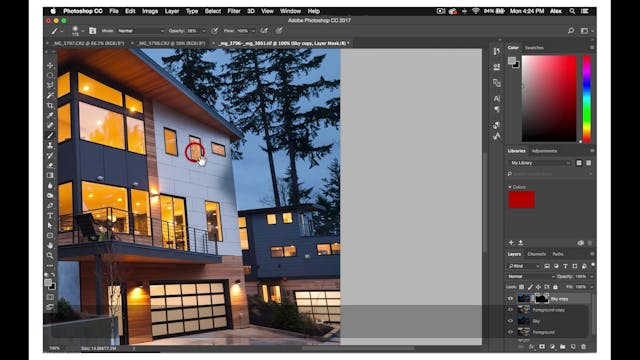
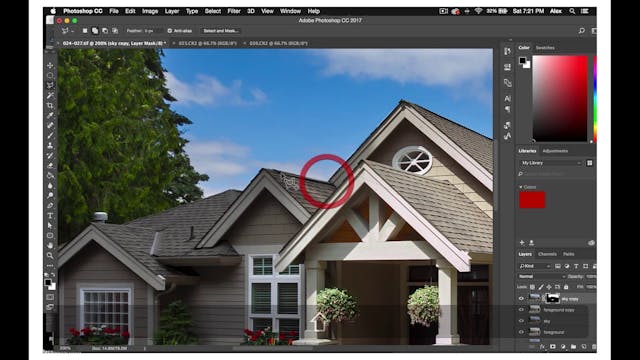
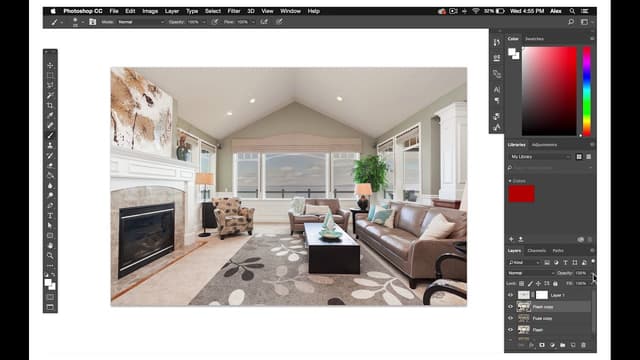
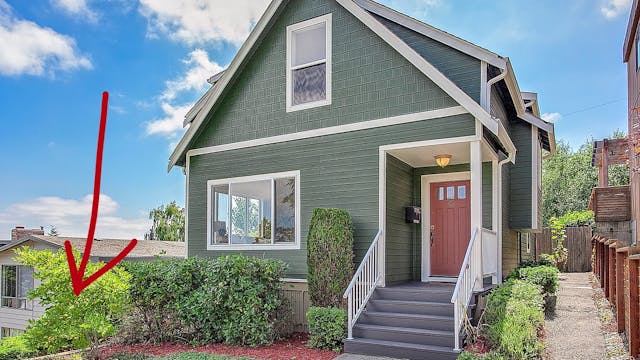
HDR or high dynamic range photography is a popular photographic technique especially for architectural and landscape photographers. HDR photography allows real estate photo editors you to fuse different exposures photos of the same scene captured at various shutter speeds and then do a composite photo comprised of the best light information of each exposure, creating a balanced home inspector and devoid of blown out highlights and engulfing shadows. Take seven separate exposures perhaps more if necessary depending on the intensity of the tonal variations of the space.
Do not change the ISO or the F-stop mid bracket. The shutter speed is the only dynamic variable while shooting. Other things to keep in mind when manually bracketing are to use a shutter release cable to ensure each exposure, especially brighter ones at lower shutter speeds, are crisp and align. Make sure your tripod is stable and stays completely still throughout your exposure set. The slightest movement or disruption can make compositing the individual exposures much more difficult for real estate photo editing services, perhaps even impossible.
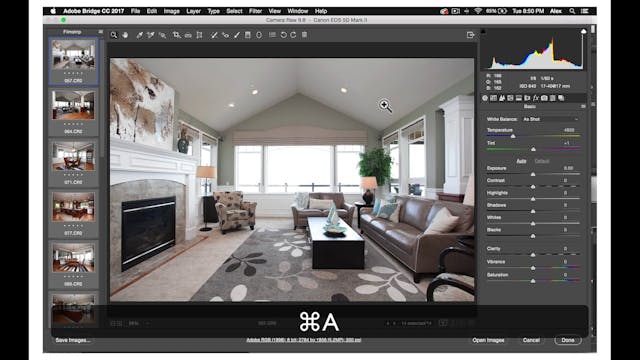
Your camera’s auto white balance function is a good enough starting point but because houses have a combination of cool exterior light competing and clashing with warmer interior lights, it is crucial to take a good flash out of the room after you complete your exposure set. Then real estate photo editors will be able to see the true colors of the room and white balance the photograph more precisely. Firstly, get familiar with your flash. If you're using a Speedlite 600ex in manual mode you can fully control the flash charge. Normally you'll be shooting between 1/2 and 1/8 stop increments. 1/2 being more powerful, 1/8 being softer. You will then switch your shutter speed to 1/60 of a second. This will prevent the majority of the space’s ambient light from reaching the sensor. As you take more photos and get more accustomed to your on camera flash you will develop a better sense of what ISO setting you'll need according to the lighting conditions of the space that you're shooting.
Typically you don't want to exceed 640 ISO, but if the room is extremely dark then you may have to, to achieve an adequate flash exposure. Be gentle while switching your flash on it so as not to shake the camera or knock the tripod out of position.
The real estate photo editing company will sometimes stitch sections of the flash shots in with HDR composites. Be sure to take as many flash shots as necessary until you get one that is adequately exposed and balanced. Rather than pointing the flash straight at the section of the room you're photographing, it's best to bounce the flash off of the ceiling straight above or a little bit behind you. This way the light will disperse evenly, otherwise you'll highlight some areas, leaving others darker, creating the illusion of vignetting and the editors won't be able to effectively utilize the shot.
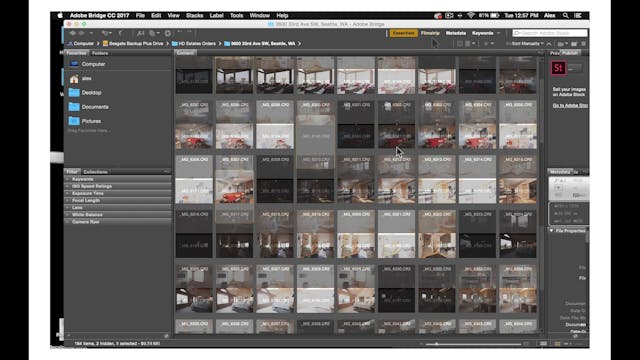
Manually bracket exposures starting from darkest exposure to Mid to Brightest by changing the shutter speed on your camera.
Do not change the ISO or the F-stop mid bracket. The shutter speed is the only dynamic variable while shooting. Other things to keep in mind when manually bracketing are to use a shutter release cable to ensure each exposure, especially brighter ones at lower shutter speeds, are crisp and align. Make sure your tripod is stable and stays completely still throughout your exposure set. The slightest movement or disruption can make compositing the individual exposures much more difficult for real estate photo editing services, perhaps even impossible.
Your camera’s auto white balance function is a good enough starting point but because houses have a combination of cool exterior light competing and clashing with warmer interior lights, it is crucial to take a good flash out of the room after you complete your exposure set. Then real estate photo editors will be able to see the true colors of the room and white balance the photograph more precisely. Firstly, get familiar with your flash. If you're using a Speedlite 600ex in manual mode you can fully control the flash charge. Normally you'll be shooting between 1/2 and 1/8 stop increments. 1/2 being more powerful, 1/8 being softer. You will then switch your shutter speed to 1/60 of a second. This will prevent the majority of the space’s ambient light from reaching the sensor. As you take more photos and get more accustomed to your on camera flash you will develop a better sense of what ISO setting you'll need according to the lighting conditions of the space that you're shooting.
Typically you don't want to exceed 640 ISO, but if the room is extremely dark then you may have to, to achieve an adequate flash exposure. Be gentle while switching your flash on it so as not to shake the camera or knock the tripod out of position.
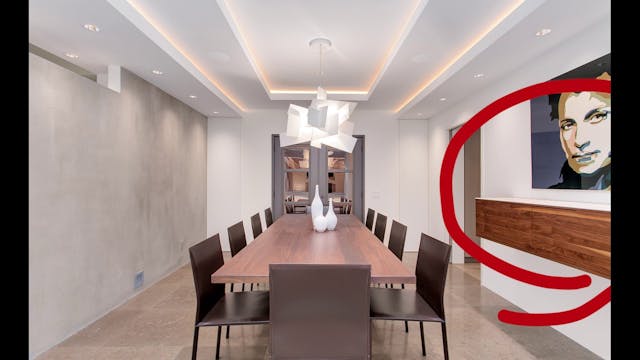
You want the flash shot to line up perfectly with HDR bracket of exposures.
The real estate photo editing company will sometimes stitch sections of the flash shots in with HDR composites. Be sure to take as many flash shots as necessary until you get one that is adequately exposed and balanced. Rather than pointing the flash straight at the section of the room you're photographing, it's best to bounce the flash off of the ceiling straight above or a little bit behind you. This way the light will disperse evenly, otherwise you'll highlight some areas, leaving others darker, creating the illusion of vignetting and the editors won't be able to effectively utilize the shot.
