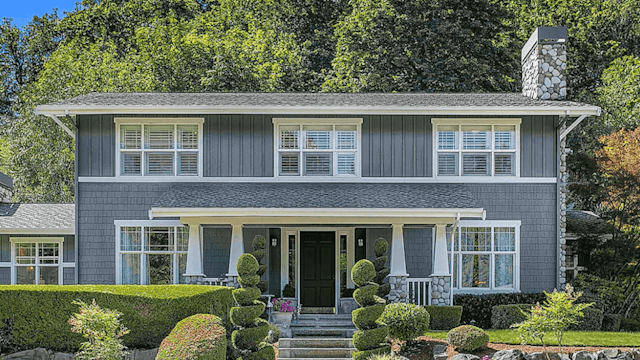
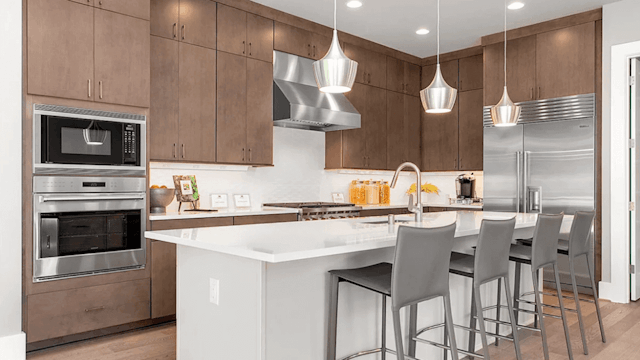
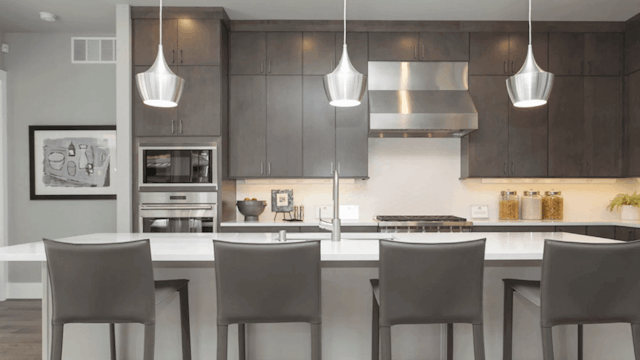
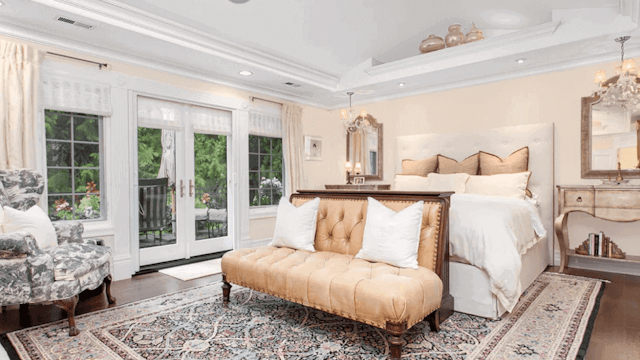
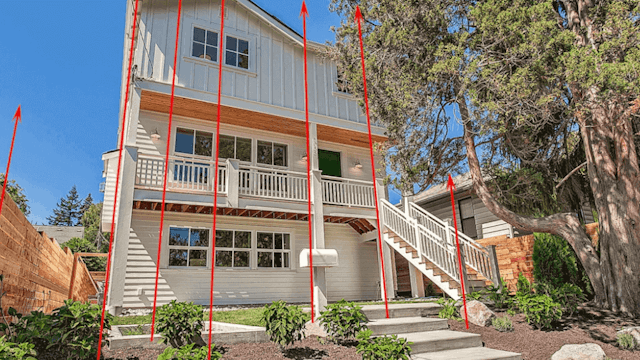
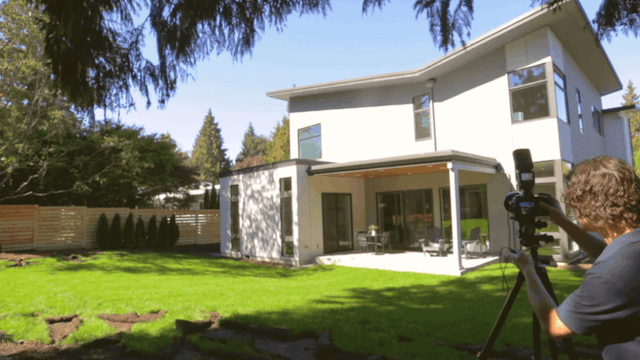
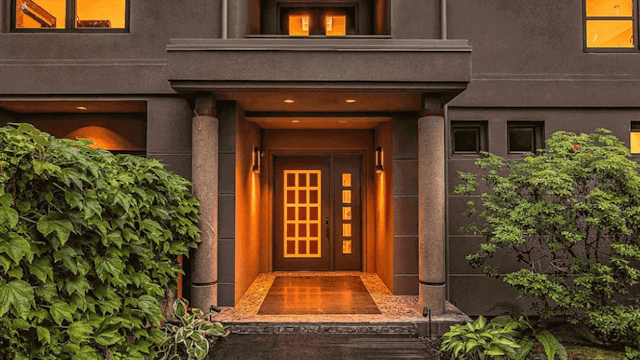
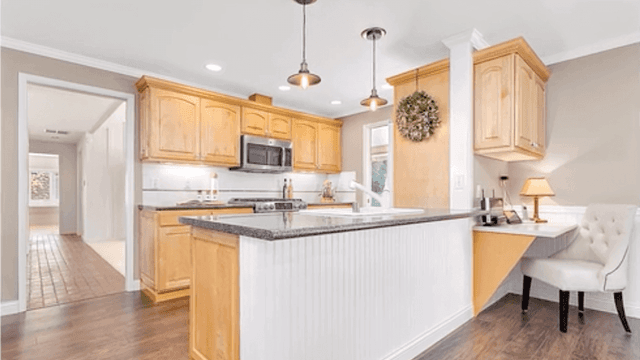
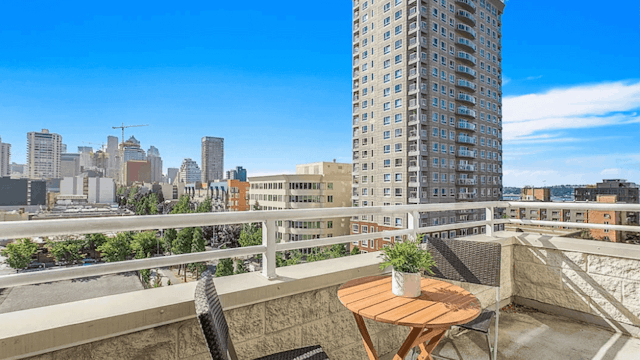
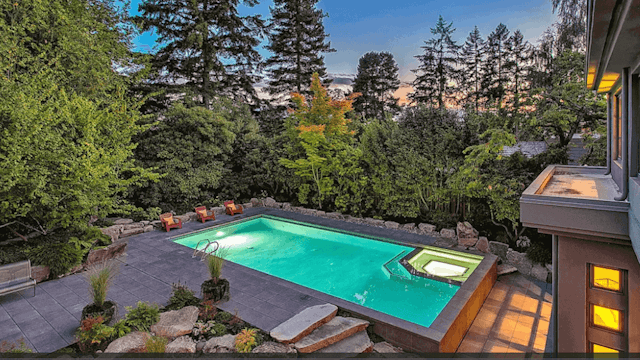
We've mainly been talking about interior real estate photos but now we're going to go over how to edit real estate exterior photos. Exterior real estate photos for a number of reasons are much simpler and quicker to edit than real estate interiors and you will edit practically every exterior photo using the same process regardless of whether the shoot is a standard HD natural HD photo or luxury photos so here's the basic workflow for the real estate editing process.
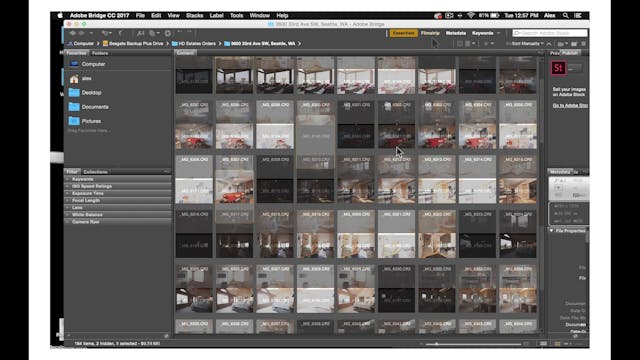
First, choose two of the best ambient exposures, one for the foreground of the home and then another for the sky edit.
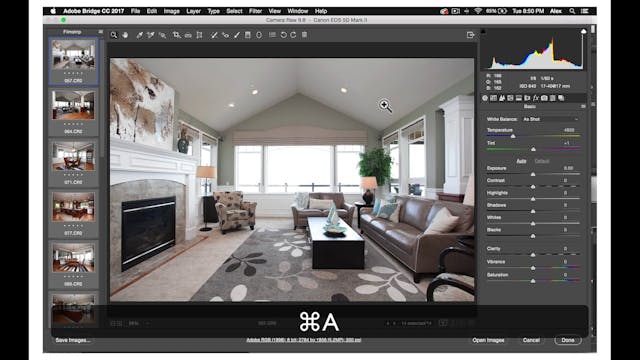
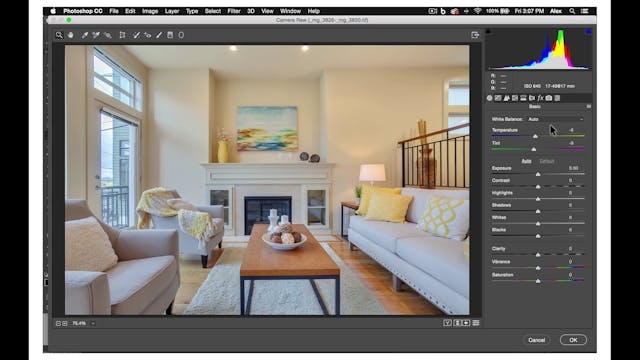
Open the sky and the foreground ambient exposure in camera raw. Depending on the lighting the time of day and the weather you will edit each ambient exposure differently but here's an approximate list of changes you will make.
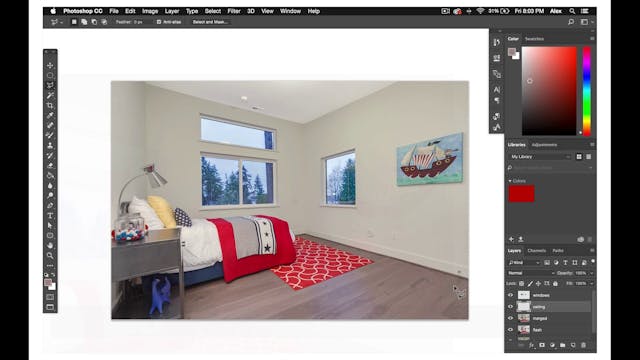
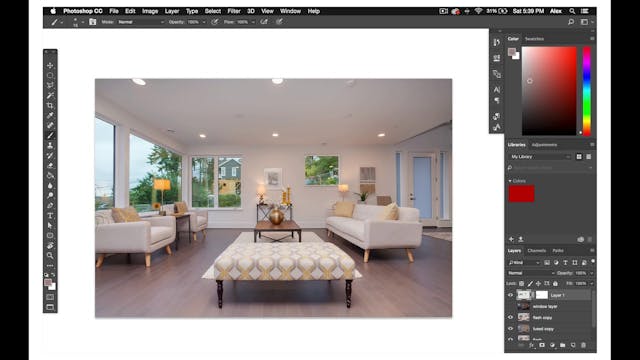
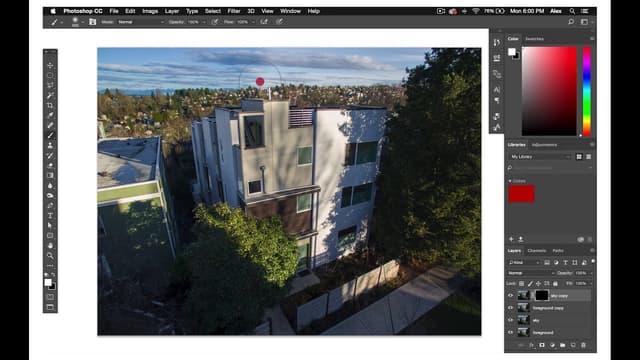
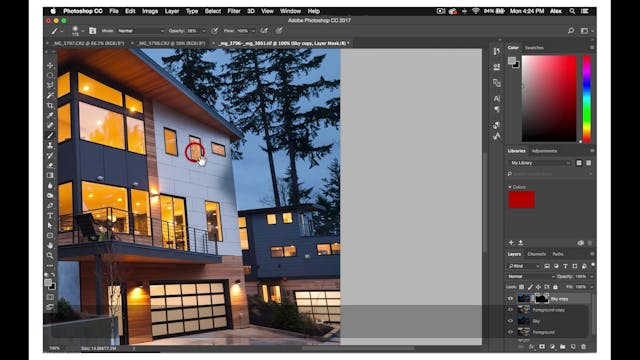
The foreground is good for both files to make sure to do a lens profile correction and a noise reduction by increasing the luminous generally the temperature of the sky exposure should be cooler while the temperature of the foreground exposure should be warmer try to avoid having too much blue color tabs on the pavement or sidewalks. The foregrounds shots in a later tutorial will show you camera raw how to avoid this the camera edits upload the fuse file the foreground exposure and the sky exposure into Photoshop layer-0 will be for the fused exposure they are one for the foreground and layer 2 for the sky make sure to properly label your layers and then duplicate them also you have backups of each before editing afterward Master Skyler into the foreground using an inverted layer mask and a wife paintbrush tool is the best way to do this if the sky is gray and you'll be replacing it then don't worry about the step because you'll be putting in an entirely new Sky the end of the editing process keep in mind while masking Skies both in daylight exterior photos and Twilight's that if you aren't precise with your mask the sky layer will leak under the house or the building for ground you can refine your mask by selecting the edge of the building polygonal lasso tool and painting them a skin with a harder line. Most likely you won't use your fuse file it's just good to have it in your Photoshop project as a backup in case the original raw files don't look good and you need to mask some of it into balance out the light at this stage if the client is ordered a sky replacement you'll mask out the existing sky and put in a new one we will go over how to replace guys in a later tutorial finally open your merge layer in by Baeza to do final edits in vivazen you'll set nodes in the sky and surrounding Greenery to increase Vibrance saturation and structure you may also plays notes on the house or apartment building so that the structure doesn't get overly saturated is there any overly Deep Shadows in the photo bring some information out by setting nodes increasing the exposure and structure once again by visit is a great tool for making sure that the temperature in all the elements of your stereo photos for true so make sure your Greenery is not too warm or too cool and same with the house or apartment building make sure the temperature is well balanced send in camera raw do a final check on the photos temperature and then check the histogram in levels after you finish your by Baeza edits you're finished here are some examples of well-edited exterior photos.
