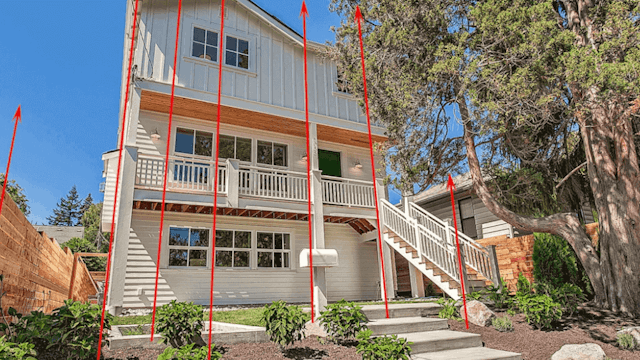
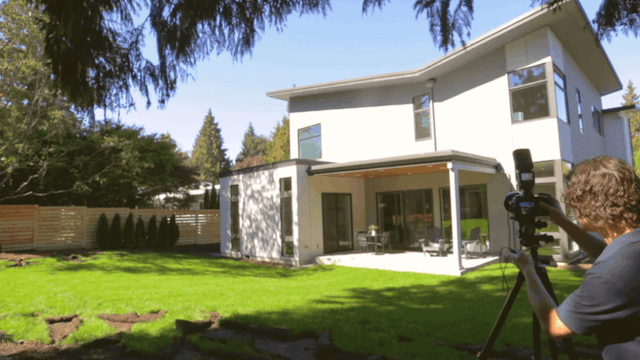
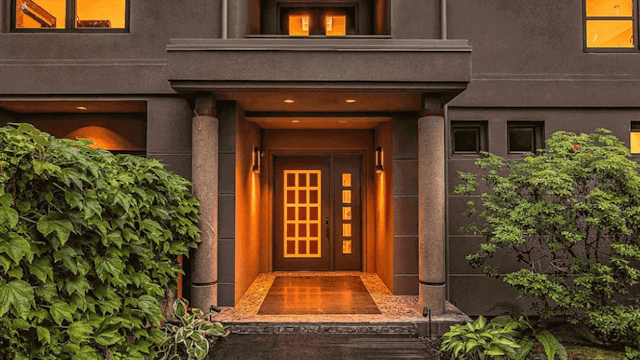
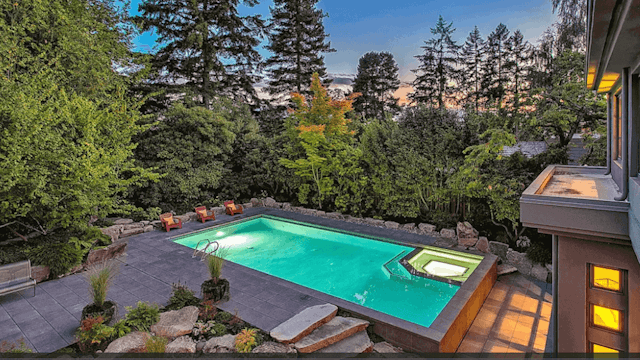
Twilight shots, which are mainly exterior shots taken right after the sun has set, are really visually appealing because of the deep blues of the sky and the surrounding environment. Which complement well with the glow of the interior lights.
The editing process for Twilights is similar to daytime exterior shots, except you want to highlight the yellows in the interior lights in the windows of the house and the deep blues of the sky.
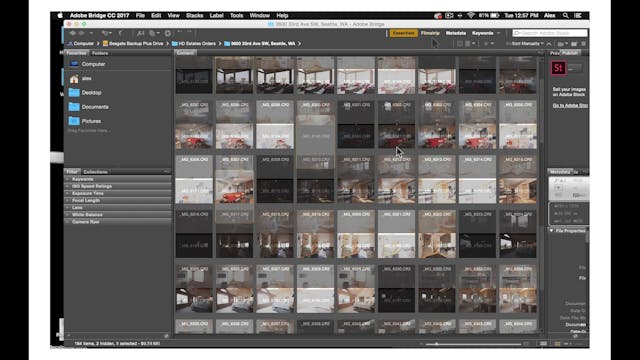
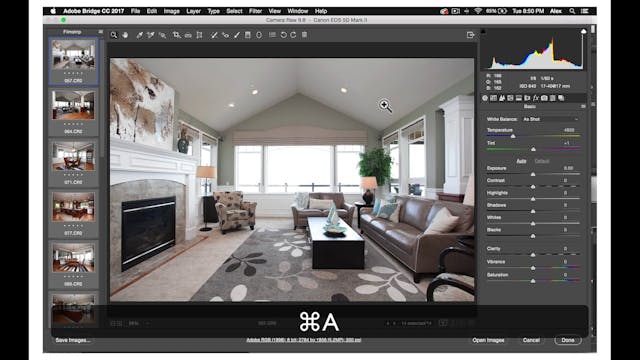
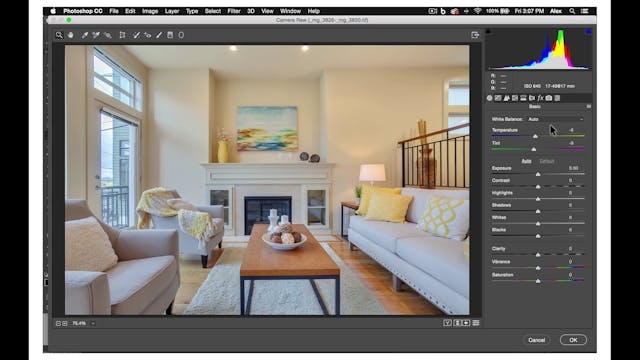
First, like regular exteriors, you'll choose 2 or 3 of the best ambient exposures, 1 for the sky and 1 for the foreground. Open these 2 or 3 ambient exposures in camera raw.
Although you will lens correct in increase the luminance of every Twilight exposure. Twilight shots will require that you edit each a little differently in camera raw. Here is a list of approximate changes you will make in-camera raw for the sky.
And for the foreground, here's another list.
Use your discretion.
In general, the sky exposures will be cooler in temperature than the foreground exposures. The foreground exposures, on the other hand, will be much warmer. You may use the Auto-White Balance tools a good starting point on these foreground images.
Now that you have your camera raw edits done.
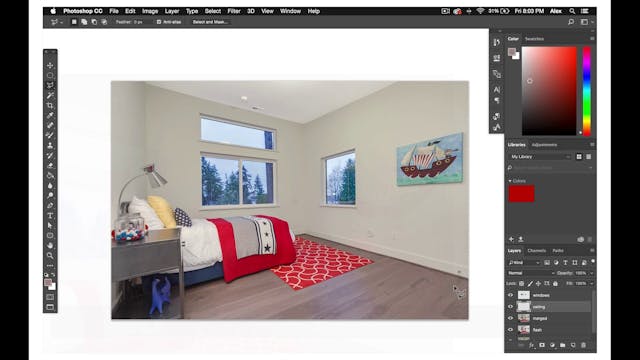
Import your HDR fuse image. Your foreground exposure and your sky exposure into Photoshop. You may not use your fused image at all, but it's good to have in Photoshop as a backup.
As a result, put your fuse file on layer 0 and label it.
Put your foreground image on layer 1 and label it, and then put your Sky image on layer 2.
Then, as usual, duplicate these layers before you make any edits to them.
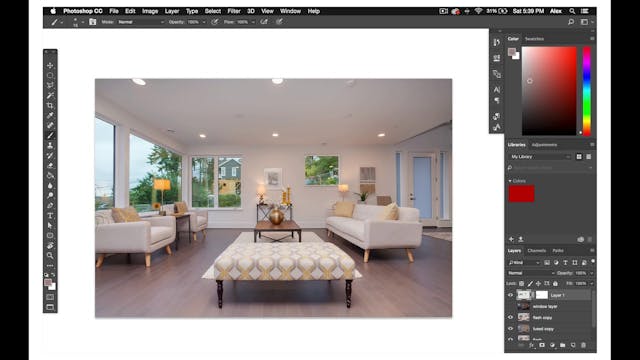
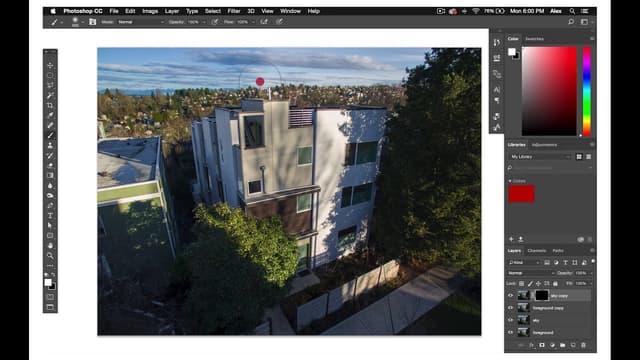
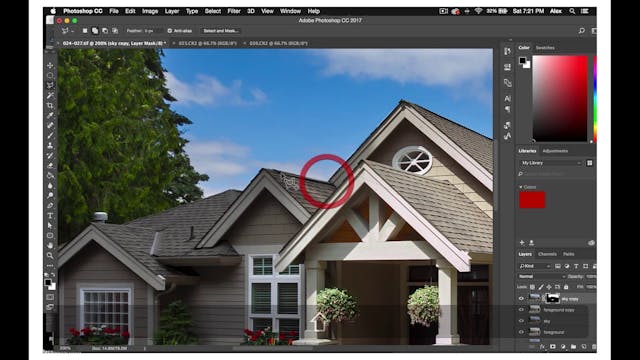
Once you have your layers duplicated, create all-black layer masks on your sky layer, and then use a white paintbrush to mask in the richer blue sky.
Depending on the photo, you may want to set your paintbrush to the lower opacity so the lines on your masks aren't as obvious and the layers look seamless.
Once you finish masking the sky into the foreground layer, merge these 2 layers, and duplicate your merge layer.
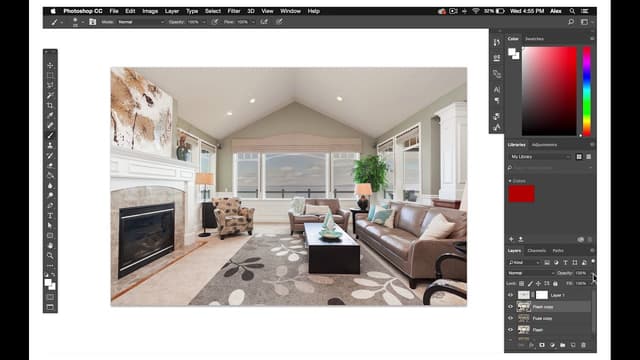
If the images lighting still needs to be more balanced, place your fused layer underneath the merge and decrease the opacity on the merged layer to the desired amount, and then merge these 2 layers.
Finally, open your final merge layers in Viveza, and set notes both on the sky, on the house, and in the larger glowing windows.
For the sky, increase Saturation and Structure if necessary, and decrease the Temperature to make it bluer.
For the house, and windows increase Warmth, and Vibrance so the windows shine nicely against the backdrop of blue.
You may also set notes elsewhere if really dark shadows look too intense or if there is some greenery that should be more vibrant and saturated.
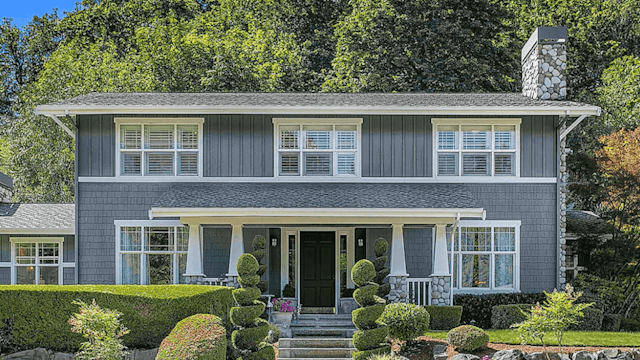
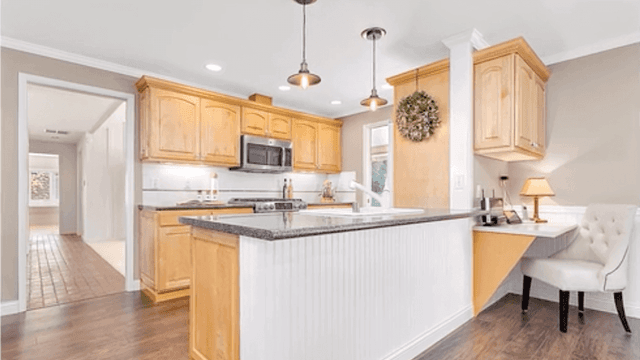
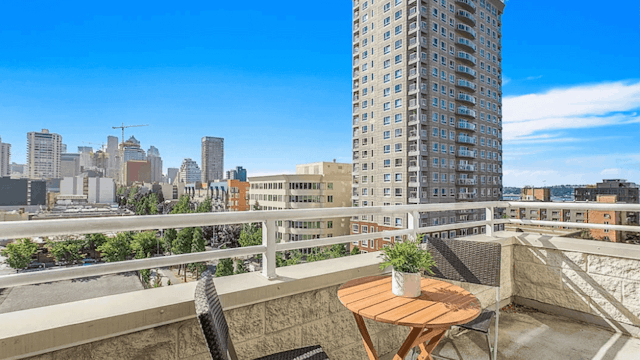
Here are a few finished Twilight shots that have been well-edited.
Want to know more about twilight editing? Contact Phixer, a company that offers real estate photo editing service to achieve a professional level images.
