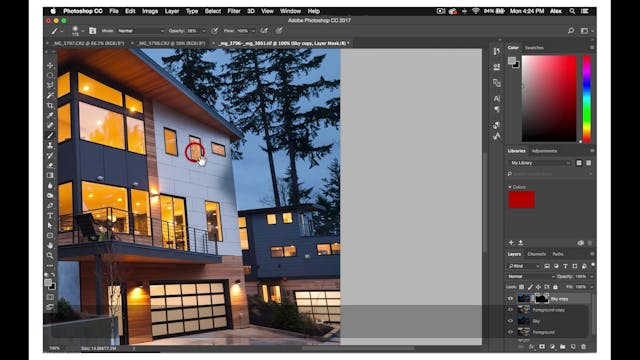
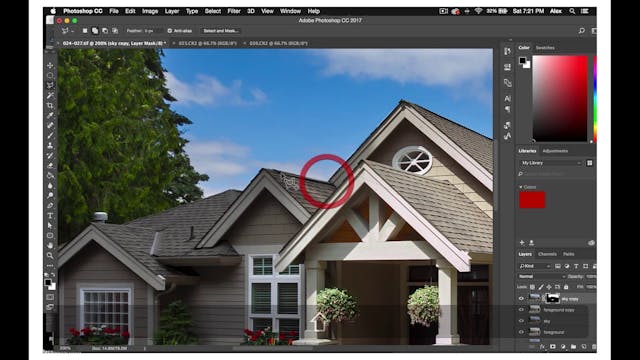
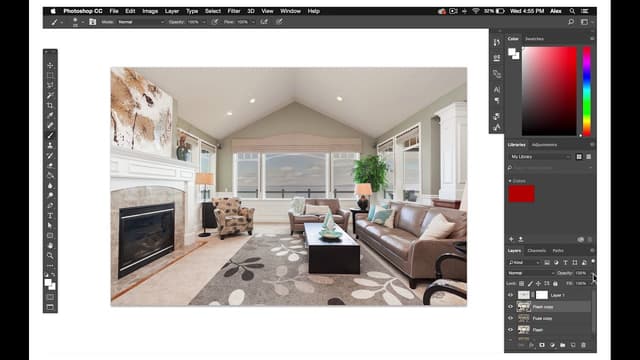
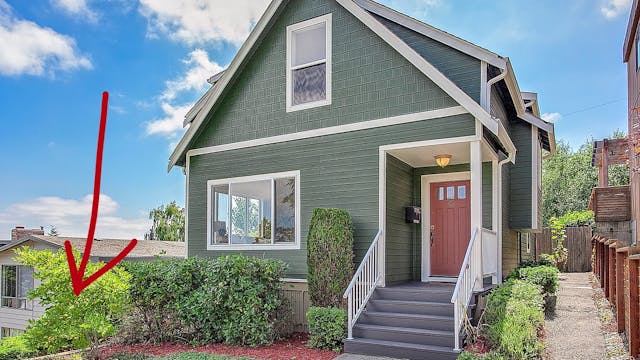
The HD Luxury Photography process is exactly the same as the HD Photography process except a little more complex and time-consuming, and there are a couple small differences.
It is worth repeating it from the start to finish so you can remember the workflow well.
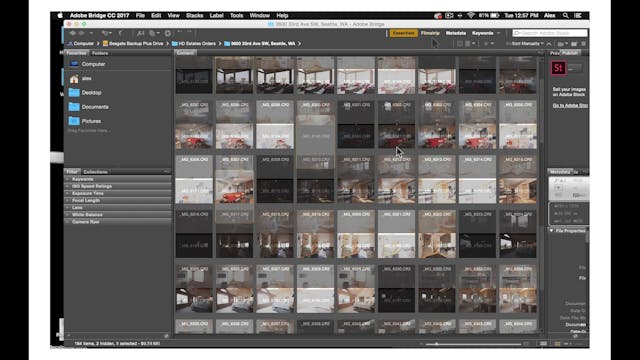
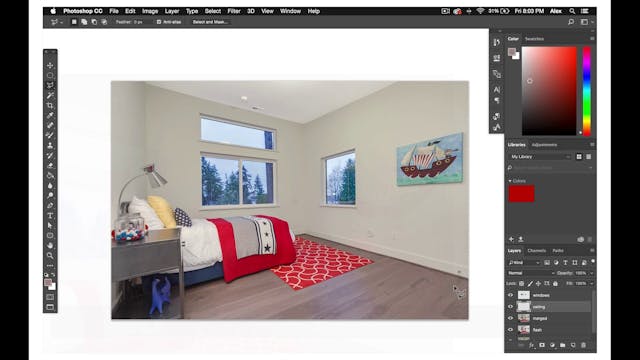
First, import your fuse and flash files into Photoshop.
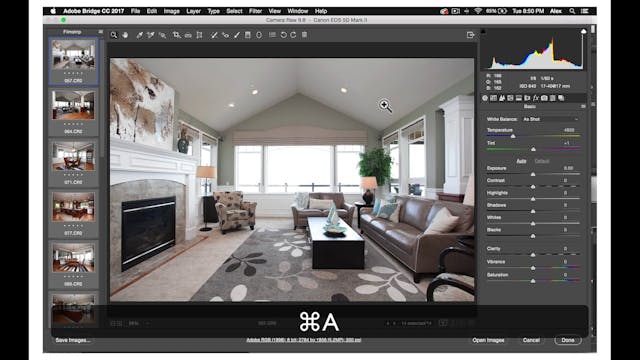
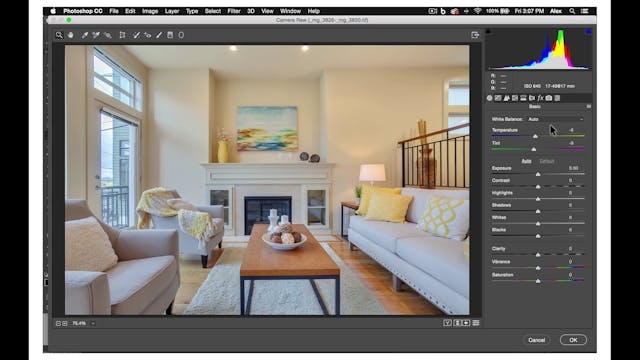
For luxury shoots, you may want to do some more complex edits in camera raw.
Especially if the flash shot has some overly bright areas or some dark spaces in the background of the shot.
Again, make sure to check the alignment on your flash and few shots and Autoalign if necessary.
Then, duplicate these layers and set the flash Opacity to between 50 and 75%.
Next, select your window and ceiling composites.
For the luxury photos and especially on view properties instead of selecting the window views from your fuse layer, go into your Color Corrected photo and import the ambient exposure where the window view is the best exposed.
Do some basic edits in camera raw so that the windows are as bright, vibrant, and contrasted as possible.
Once you have your windows and ceiling selected in edited.
You will remove all flash shadows and mask all the bright areas of the flash.
We will discuss later in another tutorial, some of the different ways you can remove hard flash shadows and mask bright areas from the flash.
After this, you'll remove color cast by using the Color Replacement brush to paint over sections of the flash layer.
For color casting, it is making the colors of surfaces either too cool or too warm.
On luxury shoots, be careful that you don't over color because you don't want your photos to look unrealistic or animated.
After removing all of the color castings, merge you flash infused layers into the Merged layer.
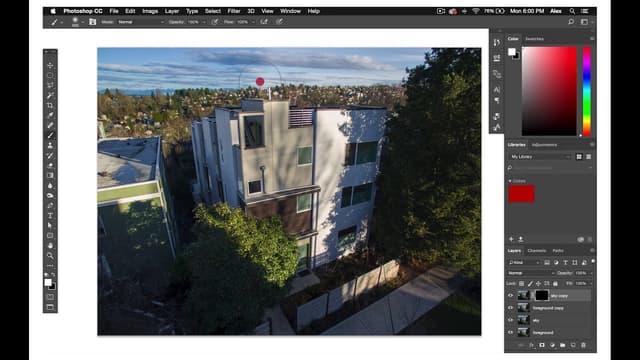
Once you have a Merged layer, make final edits in Viveza by brightening walls and ceilings. And then keeping the woods darker areas high in contrast, rich in sharp.
Finally, check Temperature and Alignment in camera raw.
And then check the histogram in levels.
Then you have yourself a finalized luxury photograph.
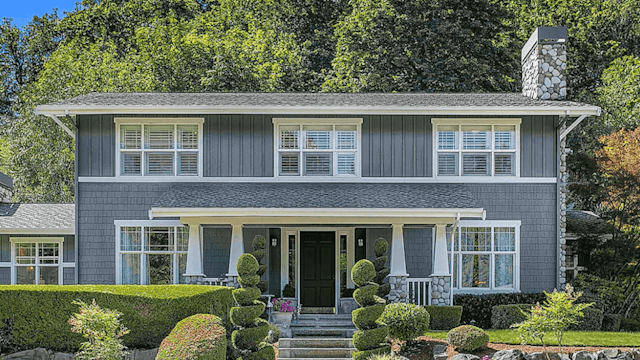
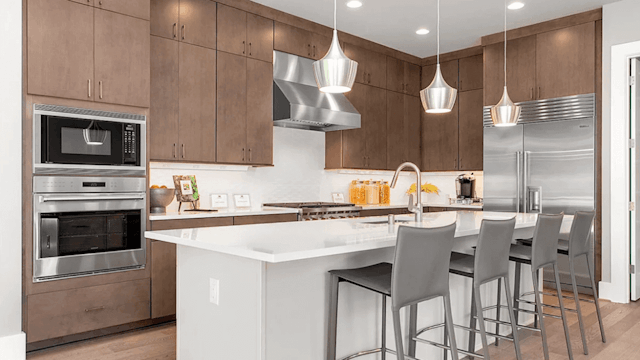
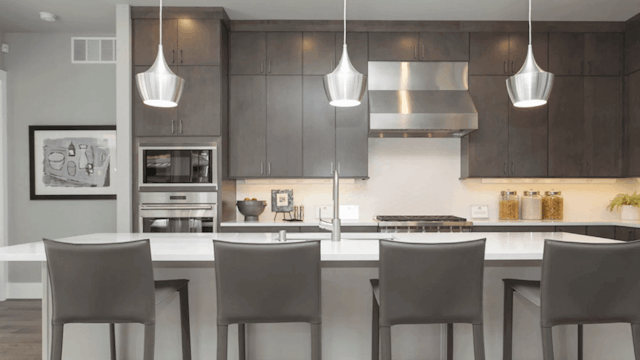
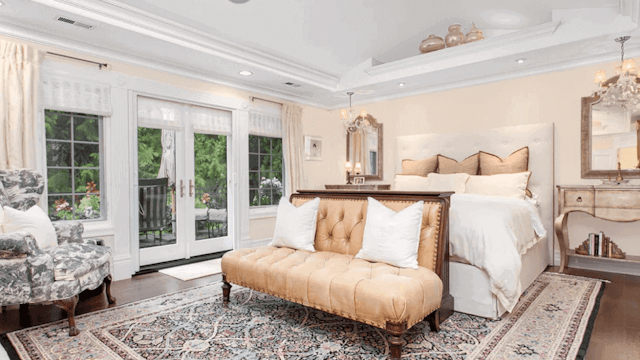
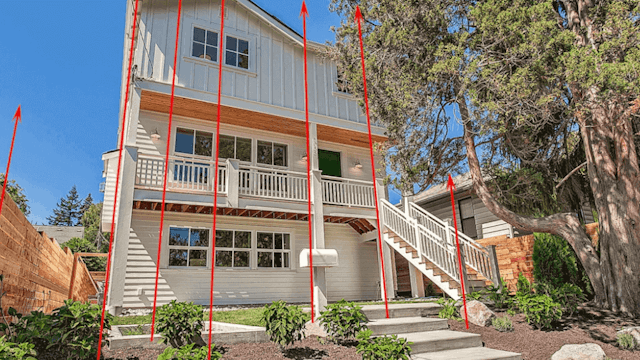
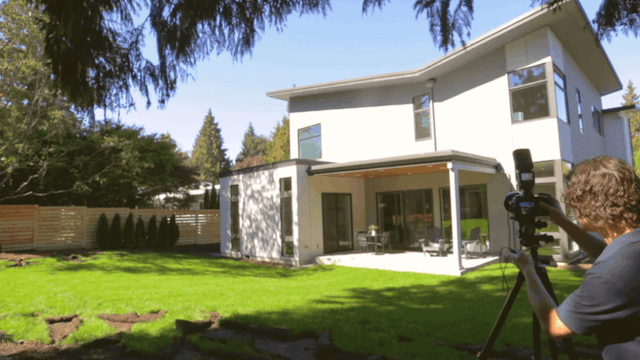
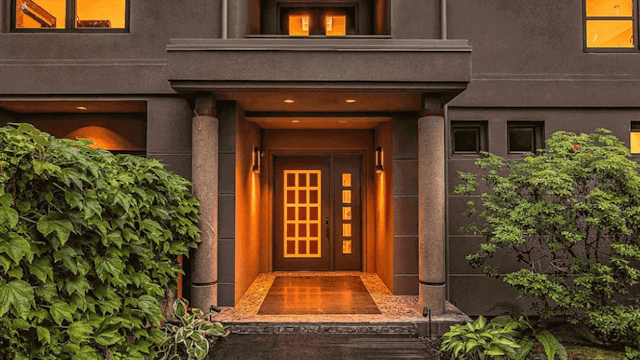
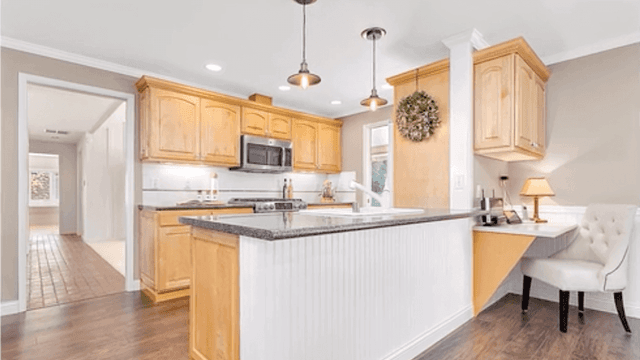
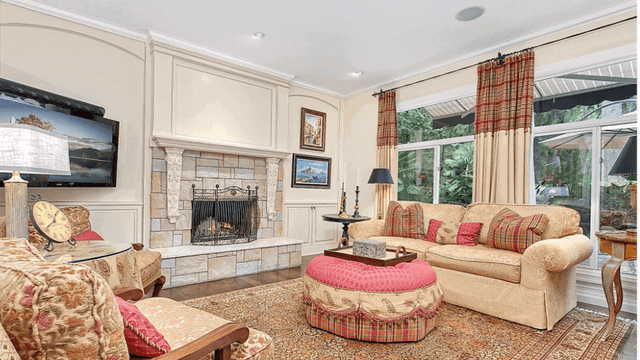
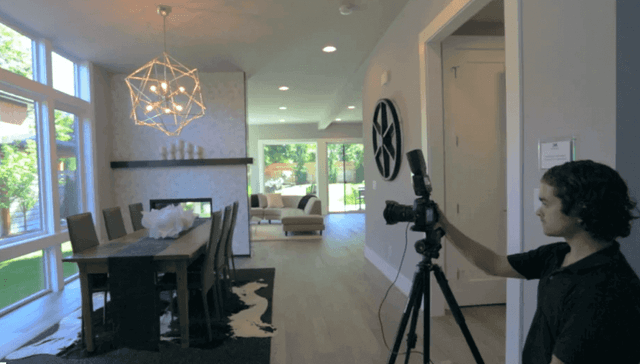
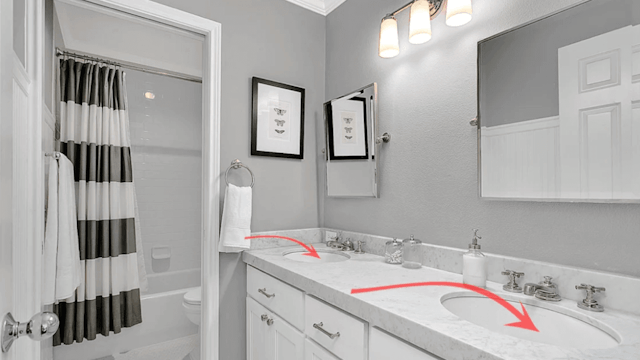
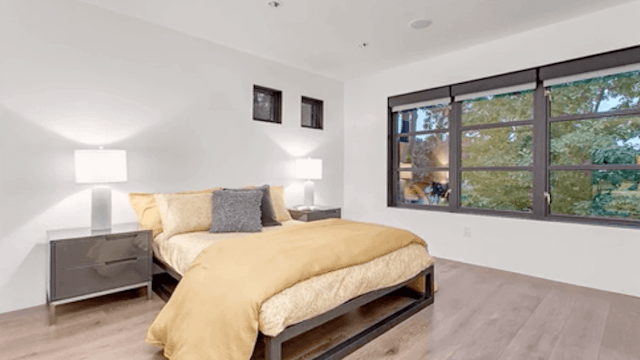
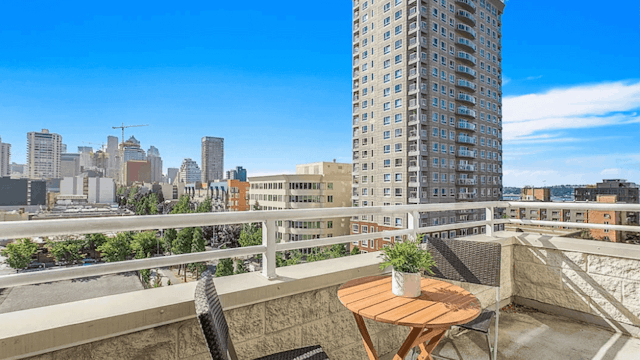
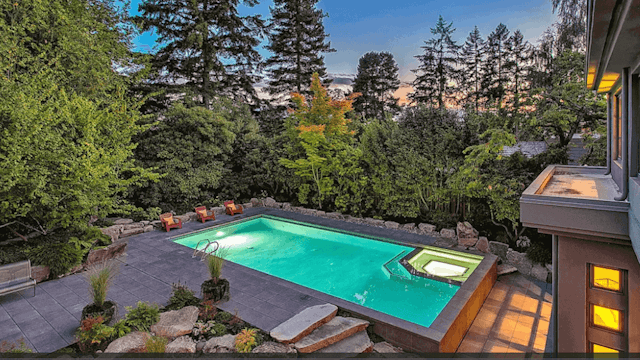
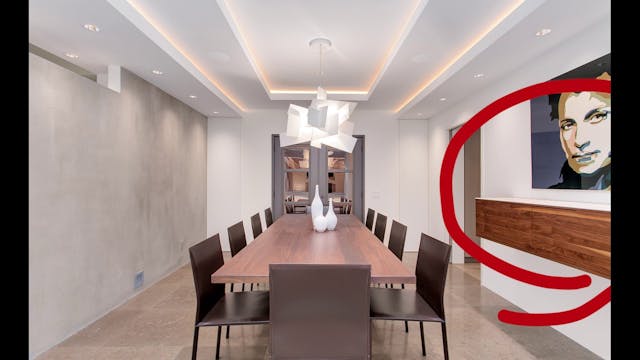
Here are some examples of well-edited luxury photos.
If this of great help with you. You may check out our other tutorials and let’s learn together the techniques of real estate photo editing.
