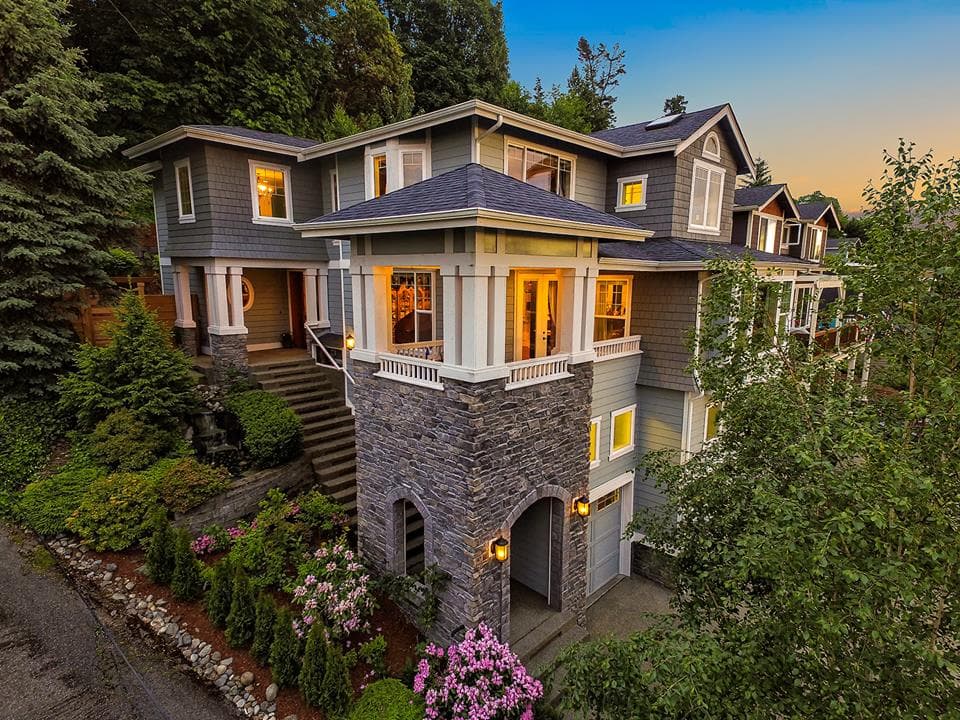
It is very hard to take quality photos indoors. It is a big challenge to every real estate photographers. The most notable problems these photographers encounter is the use of lighting gear. Once you are not skilled and knowledgeable to this equipment, chances are glitches will frequently come your way. Nevertheless, when the skills are developed in the proper settings of the camera, shooting of professional quality photos will just be around the corner. The correct setting of the camera must be thoroughly practiced to succeed in this field.
In the field of photography, there is always what we call duality. This duality refers to the light, and the other one is the subject. The light may be a broad term as it can be the use of natural light or the setting up of household lights. Using constant light will allow you to notice what adjustments are needed to the effects on the subject. This is a better way to understand lighting placement which will also benefit you when you are going to use flash.

On the other hand, the subject of photography is where the story will revolve. Every photographer must know how the viewers will see his story on the subject. It is the feeling, emotion, poetry and pure science in general that will convey the message of the subject. Additionally, a simple photo can bring everything on the table including the creativity it underwent.
Exposure stop is just one of the many confusing elements of a good photograph. There is what is commonly called the exposure triangle parameters which largely involve the technicalities of a camera. They are the shutter speed, aperture and the ISO sensitivity. This parameter correlates with each other in as far as capturing an image during the exposure to light is concerned.
Two-Stop Exposure Rule for Real Estate Photography
In this two-stop exposure rule, we will consider two basic things. These are the Ambient Exposure and the Flash Exposure. To do numerous interior shots, ISO 320 can be used as the best sensitivity piece. But there are questions that arise once interior real estate photography is being considered. Questions like, “How do I balance between ambient exposures?”, or “How do I know what to use with my lighting exposure?”These questions must be answered constructively to show the proper ways on how to deal with the exposure rule.
Ambient Exposure and Flash Exposure Compared
To perfectly use the ambient exposure, sensitivity starting point must be 320, aperture of f/6.3 at 1/10 of a second. At 1/10 second, a click is equivalent to 1/3 stop. The ratio at 1 full stop is 3 clicks. This is a good ambient shot to use which will give a good result.
What is normally done in an ambient shot is to start at 1/6 sec at ambient exposure going to 1/25 sec flashed exposure with the use of the lights, increasing the exposure to 2-full stop.You can always refer to the Exposure of the Original Photo at the upper right hand corner of your screen. It is noticeable that the photo is not completely neutral with perfect blend of brightness. At 1/25 sec exposure, it gets rid of lots of ambient artifacts. Comparing the two shots, both of them delivered almost the same results.
Upon comparing the two shots, it is then advisable to go at 1/40 sec exposure and the difference is now clearly seen.At 1/40th sec, it helped a little bit in the removal of glare in some parts of the area. But there are still spaces that are still dark, like the corners of the room. The best way to put brightness on that dark spot is to put some light and use 1/40 sec exposure and adjusting the exposure to -0.5.It would be sensible if you always monitor the graph at the right side corner and make it a point that the histogram is at equilibrium.
Repair Works
After choosing what exposure is best for your shot, it is time to make some finishing touches using the Layers. What you must do is to look at the ambient shot first and hide it for a while.Once hidden, it must return to its original composition not considering the composite frame. This is the time to do the repair frame and fix some unnecessary spots. This process is done by dragging the repair frame. Go to Layer Mask and Hide All.
Using Low flow Brush, you can then fix all the composites that are not important in the frame. Brushing has two purposes. One is the removal of the unimportant elements in the picture and second is the removal of glare. To remove the glare, turn Normal into Luminosity Mode to take away the ambient color of the picture and to basically to correct the color of the photo.
This is the main idea behind the use of lights. It is desirable to use the Mask under Reveal All. Utilize the Low flow Brush time most especially to ceilings and windows to make all the colors natural. To conclude the exposure refurbishment, you need to change Normal to Darken mode and then the Layer Mask to Hide. Again with the use of the Brush, try to do the finishing touches at the outside area of the window to make everything look normal and fine-looking.
For the final image to be really exciting to look at, it is always the idea of the photographer to which he thinks the viewer will be comfortable at with the use of the two-stop exposure – ambient and flash exposure. This is how the lighting makes a sweet spot of the photo which makes use of brightness and darkening of selected areas where it can be applicable.
For more tips and tutorial videos, check this link.
